Getting started with Docker
Docker is available for VM Sandboxes and Repositories. With Docker, you can get root access and install any package to use within CodeSandbox, including databases and new languages.
Here (opens in a new tab) you can find a sandbox that uses Docker.
1. Create a Dockerfile
To get started with Docker, you need to create a new file called devcontainer.json inside the .devcontainer folder. As an example, you could put these contents in:
{
    "build": { "dockerfile": "Dockerfile" },
}
And then create a Dockerfile in the same devcontainer folder:
FROM ubuntu

# Install htop by default
RUN apt update -y && apt install -y htopThis Dockerfile is intended for development, not for deployment. This means that you probably don't need to COPY or ADD. We handle that for you by mounting the project directory at /workspace in the container.
At this time, CodeSandbox currently only supports Debian and Ubuntu based images, for the best compatibility and user experience.
2. Rebuild the container
Now that you've created a Dockerfile and saved it, you should see a notification pop up, asking you to rebuild the container. Whenever the Dockerfile changes, we need to rebuild the container from that Dockerfile.
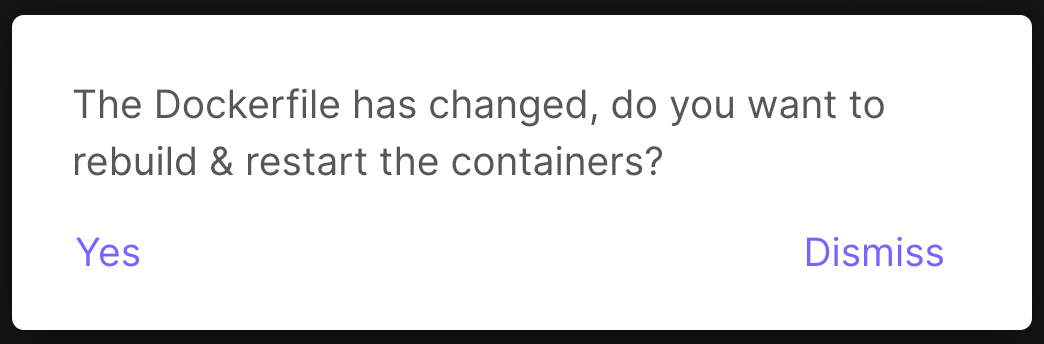
You can press "Yes", and it will build the container for you. Alternatively you can also rebuild the container by opening the command palette (CMD/Ctrl + Shift + P), and searching for "Rebuild Container".
With a Dockerfile in .devcontainer, the VM will also always make sure to create the container when it boots.
3. Use the container
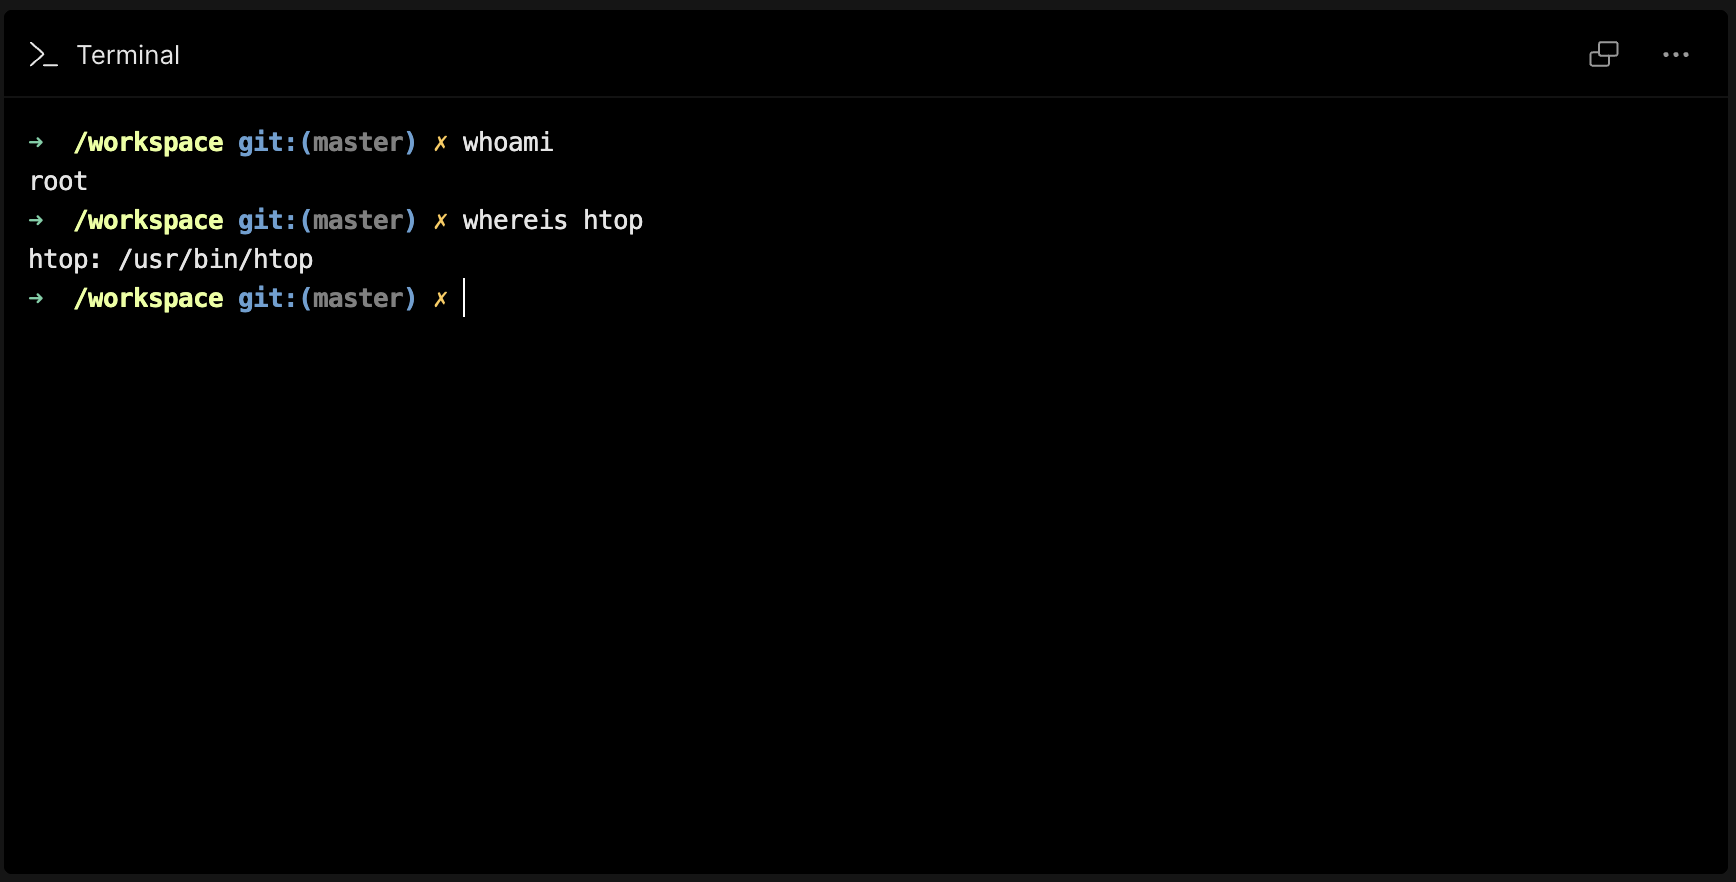
Now that the container has been built, all your new terminal sessions will be executed from inside this container. You can test this by opening a new terminal, and verifying that htop is installed (from our example).
Note that you also have root access inside the terminal, that's because we give root access by default inside a container. With this, you can install new packages and use them in your sandbox from the terminal as well. Keep in mind that it's still better to configure this in the Dockerfile in the long term, as these temporary container changes won't persist between Dockerfile rebuilds.
4. Create Docker Compose file
Once the environment is set up with .devcontainer/devcontainer.json, you can run additional services that are required for the dev environment using the native docker compose integration in CodeSandbox.
Create a new file docker-compose.yml in the .devcontainer folder. For example, you can add the following contents in the file to run an nginx server. Note that you need to add your development container (from Dockerfile) as well.
services:
    app:
        build:
            context: .
            dockerfile: Dockerfile
        command: sleep infinity
    nginx:
        image: nginx
        ports:
            - 8080:80
To use this configuration, you should change your devcontainer configuration, like so:
{
	"dockerComposeFile": "docker-compose.yml",
    "service": "app",
}
Note the service field. This tells devcontainers to start the services in docker-compose.yml, and then attach to the app service.
5. Run docker compose.
Now that you've created the docker-compose.yml and saved it, you should see a notification pop up, asking you to restart the docker compose command. Whenever the docker-compose.yml changes, this prompt will be shown and you can restart docker compose.
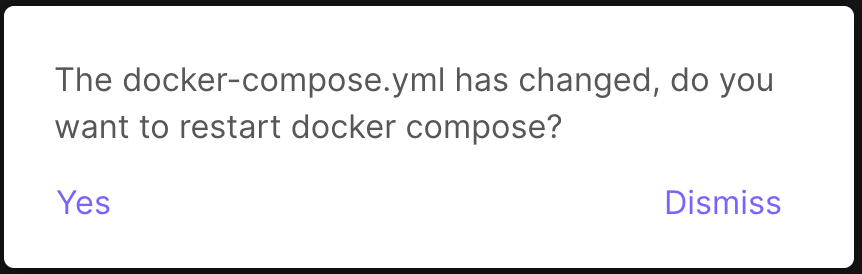
You can press "Yes" and it will run docker compose up for you. You should now see a DevTool open with Docker Compose logs. Once the nginx image is pulled and run, port 8080 should open and a notification should show with the URL to access the port.